We'll explain in this article how to configure VRBO. We'd like to remind you that there will be a few extra steps compared to other channels, as VRBO requires to create again your listings in WooDoo, even if you have already created them on VRBO.
If you don't feel confident to proceed on your own, do not hesitate to contact us and we'll assist you!
☞ Docs: Support and Training
To know before proceeding
- You must already have an account on VRBO, even empty with no listings, as they will have to be re-created in WooDoo.
- WooDoo does NOT manage your guests' payments: you can only specify the cards you accept or the bank transfer details. And also the reservation model, so when and how much the guest will have to pay.
- All mandatory fields marked with an * must be completed.
- You can proceed with the connection even if you have only one listing, there are no limits.
- Any reservation's changes and cancellations must be managed directly from the WooDoo interface.
- If you decide to disconnect the channel, upon disconnection all content created on Woodoo will be deleted from the portal.
Let's see now all the steps for the configuration.
1. Add the channel
First, the channel must be added by clicking on the + in the following menu:
2. Create or enter your Advertiser ID
Once added, you will find the channel on the left. Click on it and specify whether you already have an account on VRBO or not:
Please note that in order to proceed you must already have an account on VRBO, even empty with no listings (they will have to be re-created in WooDoo).
If you already have an account, choose YES and specify the language of the VRBO site you are registered to:
Choose now whether you already have an advertiser ID (identification code generated by WooDoo for VRBO) or whether you want to create a new one:
Specifically:
- "I already have an Advertiser ID and I want to use it": choose this option if on VRBO you have only one profile and want to connect it to several WuBook properties
- "Create a new Advertiser ID": if you have never connected VRBO in WooDoo before, then choose this option and fill in your details. You can enter your own name or that of your property in the "Advertiser name". Also specify if you already have VRBO reservations with a future check-in date:
Then click on "Create" and you will receive a confirmation code in the specified email. Enter it here and continue:
! NOTE: If you previously specified that you already have reservations with future check-in date, now you will also find the "VRBO reservations" section. Add your reservations here, view/edit the ones you already have or import them from your external PMS:
3. Configure your global settings
Now click on the "Configure your global settings" section and then on "Edit":
At this point you will have to specify some mandatory data:
- Select the cards you accept for payment or, if you prefer payment by bank transfer, enter your bank details
- Choose one of the suggested cancellation policies or choose "Custom" to define your own policy. Click on the information icon to find the explanation of each rule.
- Enter the check-in and check-out time and the min age for staying at your property.
! NOTE: If you choose further languages in addition to the default one under ''Additional languages'', you must then configure the listings in each language.
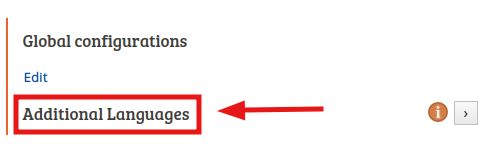
If no extra language is selected here, the default language will automatically be used.
4. Upload photos of your listings
Now click on the "Upload photos" section and then on "Click here to upload images":
Upload now the photos of ALL your listings by clicking on "Sfoglia" and choosing them from your device.
NOTE: Then, when creating your listings, you will be able to associate the specific photos to each one, by selecting them from those uploaded here.
Remember to comply with the following requirements:
- Upload at least 6 photos for each listing
- Minimum resolution must be 1920x1080
- Weight must be at least 300KB and no more than 5MB
- You can upload a maximum of 10 photos at a time
5. Create and set up your listings
You are now ready to create listings! Click on the "Your Listings " section and then on the + on the right:
Now fill in the 3 mandatory sub-sections at the top (in case of doubt, you will always find the icon  with all details next to each field):
-
LISTING INFO: set here the listing name and the description
- LOCATION: set the address where the listing is located
- IMAGES: select at least 6 photos for each listing, by choosing among the ones uploaded previously (at point 4)
- Finally, the FEATURES sub-section is not mandatory, so you can ignore it and go on.
Once done, you'll have correctly configured the first part of your listing. If any mandatory data is missing, you'll find a red icon indicating what's missing next to each listing name:
It's not over yet! Other data must also be configured for the same listing, following the instructions below.
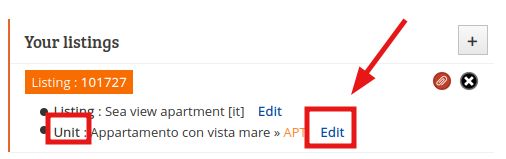
6. Set up the unit for each listing
Now you need to configure the second part of your listing: the unit. Go back to the list of your listings and click on "Edit" next to "Unit":
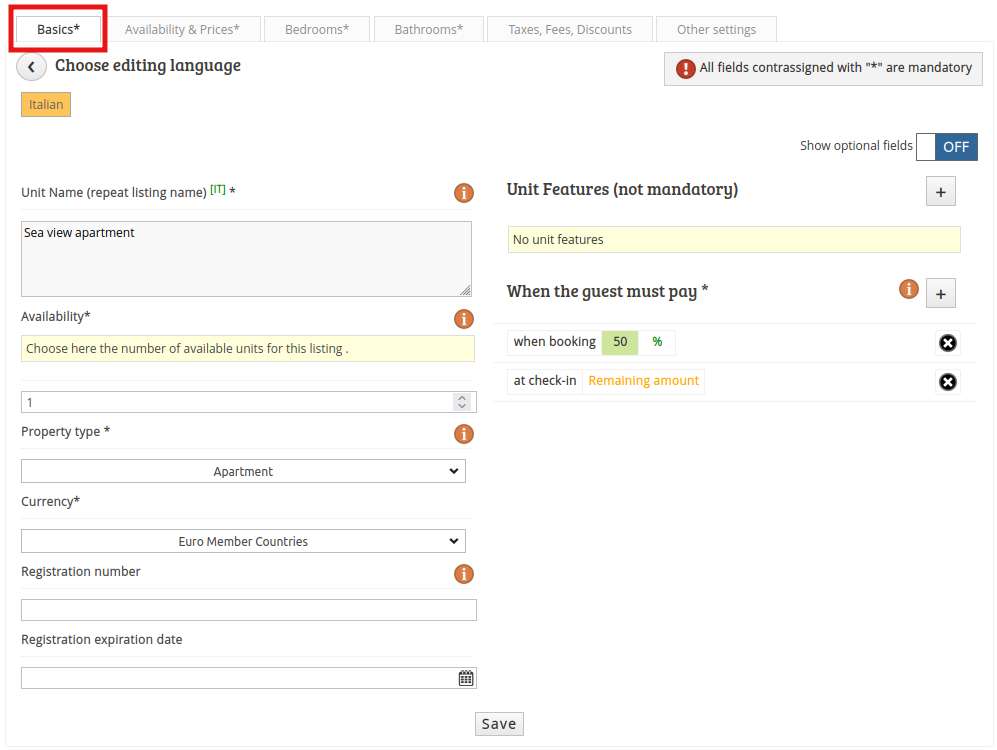
Fill in the four mandatory sub-sections at the top (in case of doubt, you will always find the icon  with all details next to each field):
- BASICS: Please fill in here only the mandatory fields indicated by the asterisk. In particular, under "When the guest must pay" you must specify how and when the guest has to pay you. It is mandatory to define:
- If he does not have to pay you everything when he books, then it is also mandatory to define a rule for the "Remaining amount" option, in which you specify when he will have to pay the remaining amount.
-
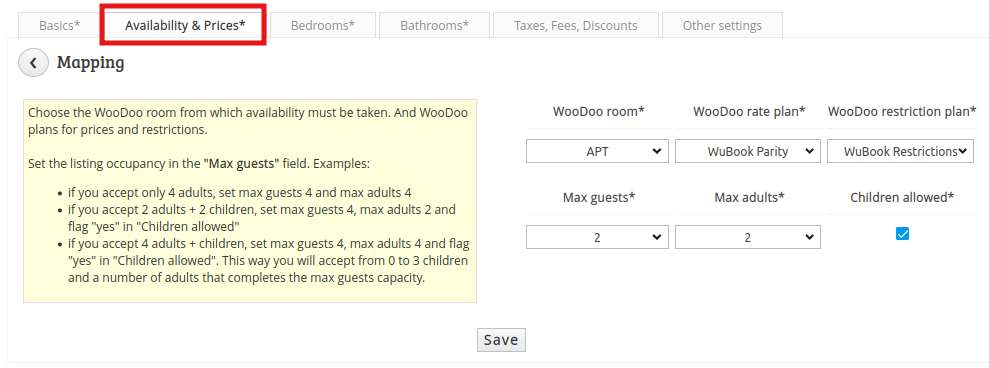
AVAILABILITY & PRICES: in addition to the occupancy, choose here the WooDoo room and plans from which availability, prices and restrictions will be taken.
-
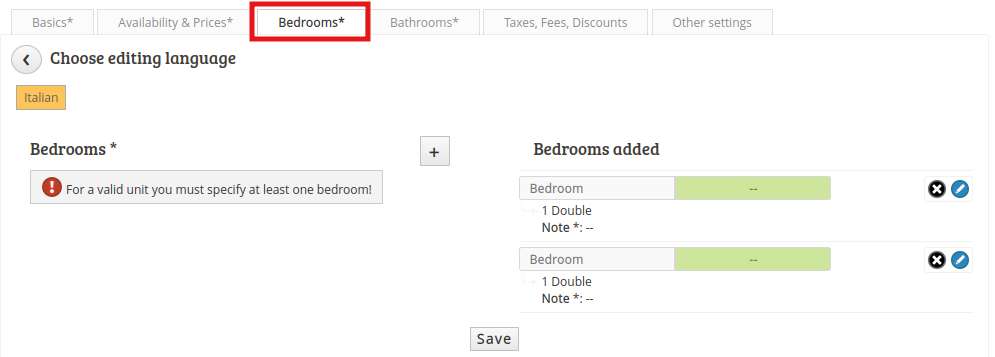
BEDROOMS: add all the bedrooms included in the accomodation, by clicking on the +. At least one is mandatory.
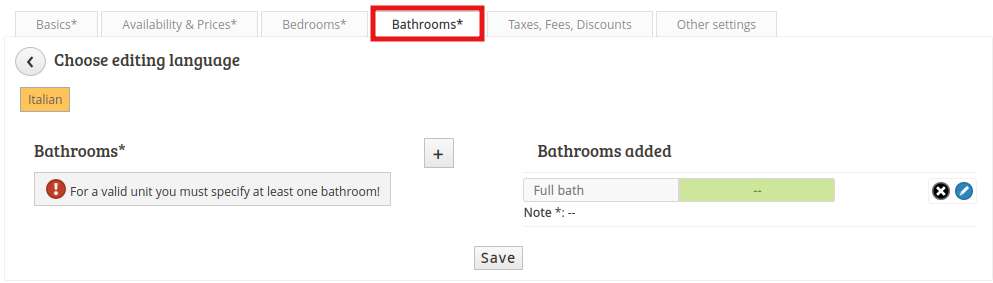
- BATHROOMS: add all the bathrooms included in the accomodation, by clicking on the +. At least one is mandatory.
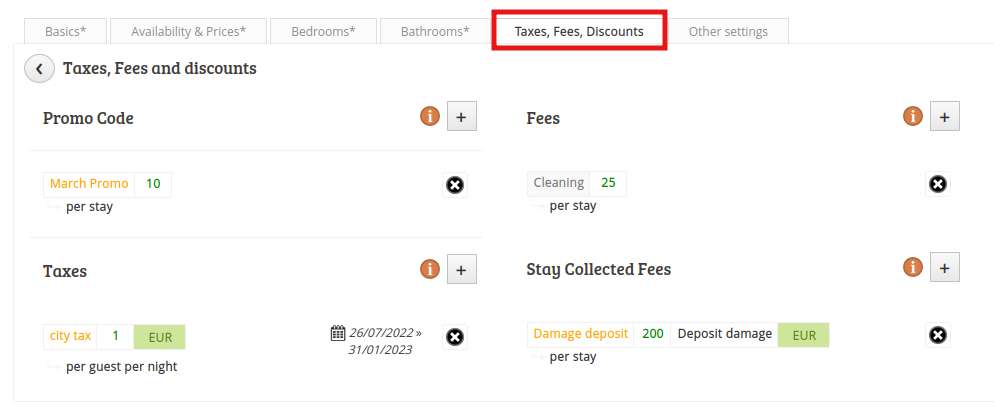
- The TAXES, FEES, DISCOUNTS section is not mandatory. Use it only if you need to set this data:
- DISCOUNTS: fixed or percentage offers/promo for a specific period of time, e.g. a 10% discount for March
- TAXES: fixed or percentage taxes, e.g. the city tax
- FEES: mandatory costs that will be added to the reservation, e.g. the room's final cleaning
- STAY COLLECTED FEES: costs that the guest may collect during the stay, e.g. electricity and gas. Or costs that can be returned, such as the deposit for damages.
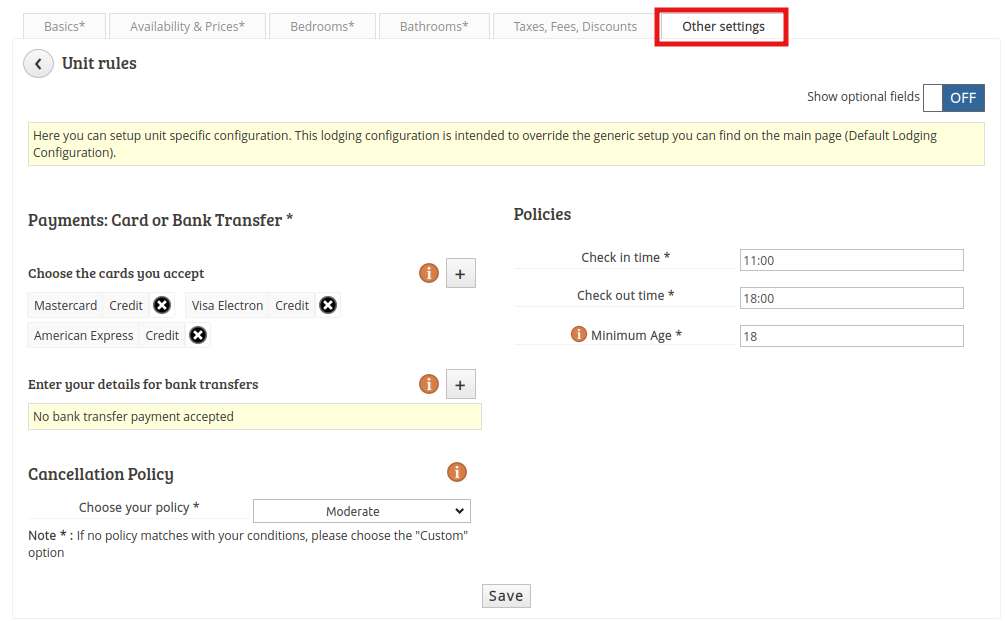
- Finally, the OTHER SETTINGS section is automatically filled in according to your global settings (set at point 3). Anyway, you can custom them for each listing, if needed.
How to set prices for other occupancies
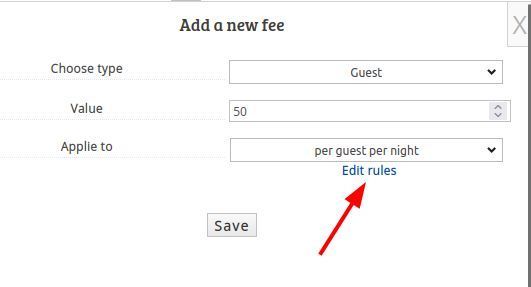
You need to add a Fee at section TAXES, FEES, DISCOUNTS, as in the following picture. And then click on "Edit Rules":
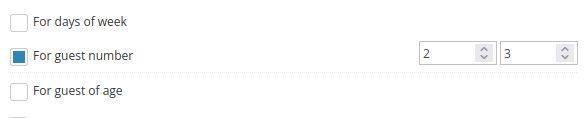
Now tick the option "for guest number" and fill in the "from...to" boxes. If you set for example from 2 to 3, then 50€ will be added for the third guest only:
If you set from 1 to 4, then 50€ will be added for the second guest,
other 50€ for the third guest, and other 50€ for the fourth guest.
7. Repeat the procedure for each listing
Remember now to create and configure all your listings, filling in all mandatory data for each one, including the unit (see point 6).
! NOTE: If you see the red icon next to some sections, it means that some data are still missing.
8. Choose WooDoo Settings
Set your preferences for closures here:
- if you check this option, all closed dates/rooms in the "WuBook Restrictions" plan will always be taken into account, regardless of which restrictions plan you have chosen within each listing.
- if you do not tick this option, the closures will be taken from the chosen restriction plan within each listing.
9. End the connection with VRBO
You will now have completed the configuration in WooDoo and can notify VRBO that you are ready! Please follow these steps to do that:
- In the "Your listings" section, click the paperclip icon next to each listing ("Click to publish listing"):
- In the "Information about this connection" section you will see the following field, in which you can enter the total number of listings created. Then click on "Proceed":
- Finally, you have to conclude the connection directly with VRBO. To do this you have two options:
- apply online for activation at VRBO by clicking on this link
- or contact VRBO and provide them with your advertiser ID, which can be found under "Information about this connection":
This way VRBO will finalise the connection and import the listings you have created in WooDoo. Now the channel will be correctly enabled and configured!